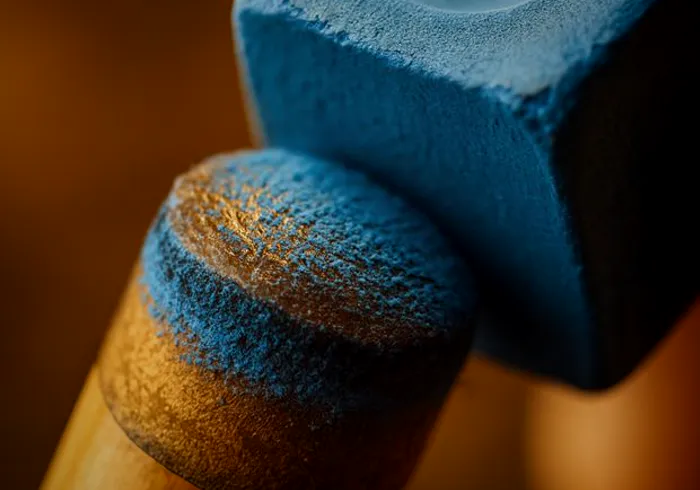
How to Break In a New Cue Tip
A new cue tip breaks in with three things: an overnight wait so the glue cures, a first shaping and light scuff before you hit a ball, and a few sessions of normal play with chalk before every shot. That's the whole routine. Hard-hit shots, soaking and pressing tricks don't speed it up, and heavy scuffing only wears the new leather away.
New tips play badly at first for a simple reason. They arrive flat, and Cuetec's own tool instructions note that most new tips have a surface finish that has to be scuffed off before chalk will hold. Until that's fixed, the tip skates.
The first-week routine
| When | What to do | Why |
|---|---|---|
| Install day | Trim, burnish the sides, shape, scuff. No break shots. | Gel super glue reaches full strength in 12 to 24 hours, per Loctite's data sheet |
| First session | Chalk every shot. Center ball, stun, follow, moderate draw first; add side spin later in the session. | Lets the crown compress evenly before you lean on the edges |
| After the first session | Look at the dome against a coin. Light reshape and scuff only if it flattened or glazed. | The first compression is the biggest one |
| Sessions two to five | Play normally. Trim and burnish if leather bulges past the ferrule. | Pressed and soft tips mushroom early |
| After that | Leave it alone. Scuff only when chalk stops sticking. | Every pass of a tool costs leather |
Before the first rack: shape and scuff
Most tips come off the installer's bench either flat or with a shallow dome, and the top is often smooth from the factory finish or from burnishing. Fix both before you play.
- Shape the crown with a dime- or nickel-radius shaper, turning the shaft slowly, until the dome matches the coin and the high point is centered.
- Scuff lightly: a few strokes of a scuffer or a roll of a tapper, just until the surface goes from shiny to matte everywhere.
- Chalk it. The first coat should cover evenly. Any spot that stays shiny needs one more light scuff.
The method, and the dime-versus-nickel question, are covered step by step in how to scuff and shape a cue tip. Here the only rule is to stop as soon as the tip takes chalk. A new tip is at its thickest, and it's tempting to grind on it. Don't.
The first sessions
Chalk before every shot, even the ones where you'd normally skip it. A fresh tip has the least texture it will ever have, and that's when miscues happen.
Start with the shots that hit near center: stops, stun, follow, moderate draw. That compresses the middle of the crown first. Bring in heavy side spin after the tip has a session or so on it. Quarter King Billiards and JFlowers Cues give the same advice in their break-in guides, and JFlowers suggests stopping after 15 to 20 minutes the first time to check the shape.
Expect the tip to feel a little different from your old one for a while, especially if you changed brand or hardness. Judge it after a few sessions, not after one rack.
Should you break with a new tip?
Not on the first night. A break shot is the hardest hit the tip and glue will ever take, and gel CA isn't at full strength until 12 to 24 hours after the job. That's how tips come off on the first rack.
After that, forum advice splits. Some players hit a handful of hard breaks to compress a new tip faster; others say it flattens and hardens the tip unevenly. Our view: don't break with your playing cue at all if you can avoid it. A separate break cue keeps the hardest hits off your playing tip and ferrule, and the playing tip breaks in from the shots it's meant for. Our break cue picks start cheap.
Compression and mushrooming
Leather compresses with every hit, and a new tip compresses the most. On a one-piece pressed tip the leather isn't uniform to begin with; Dr. Dave Alciatore's FAQ quotes tip maker Jack Koehler that a single-piece tip's texture and hardness change from the hair side inward. As the crown compresses, some leather gets pushed out sideways past the ferrule. That bulge is mushrooming.
A little is normal in the first sessions, more on soft and pressed tips than on hard or layered ones. Dr. Dave's FAQ notes that a properly shaped tip hit inside the miscue limit doesn't use the extreme edge, so a small mushroom doesn't change those shots. It's still worth removing because it keeps spreading and can tear on a big off-center hit.
- Tape the ferrule.
- Sand or cut the overhang back flush. Fine sandpaper (600 grit or finer) on a flat surface, with the shaft turning, is the safe way. A sharp blade, held flat to the ferrule and cutting toward the tip, is faster but less forgiving.
- Dampen the side of the tip slightly and rub it with leather or paper while turning the shaft. Burnishing compresses the wall so it resists spreading again.
- Check the dome; trimming the sides can change it slightly.
Expect to do this once or twice while a pressed tip settles. If a tip keeps mushrooming week after week, it's probably softer than your stroke wants; see soft vs hard cue tips.
Layered vs pressed tips during break-in
Layered tips (Kamui and Tiger, among others) are thin layers of leather pressed and glued together, sold on consistency. Dr. Dave's FAQ reports that some users find they compress and harden less over their life, and also notes there's no hard comparison data. One-piece pressed tips (Le Pro, Triangle, Elk Master) cost much less and are fine tips; they tend to need more attention early.
| Layered | One-piece pressed | |
|---|---|---|
| First shape and scuff | Yes | Yes |
| Early mushrooming | Usually little | Common, especially on soft tips |
| Care with tools | Light scuffing; go easy with picks | Standard tools are fine |
| Main risk | Layers separating (dealers blame rough installs, heat and coarse scuffing) | Shape changing as it compresses |
For which to buy, see cue tip brands compared.
How long break-in takes
No tip maker we found publishes a break-in schedule, so treat any number as a rough guide. Quarter King's guide calls it "a handful of ordinary sessions." JFlowers puts most quality layered tips at their best in 3 to 5 sessions and hard tips at 5 to 8. Soft tips usually feel ready sooner.
Watch for the signs instead of counting:
- Chalk goes on evenly and stays without constant scuffing.
- The dome still matches your coin after a session.
- No new leather bulging past the ferrule.
- Draw and side spin come off the same way rack after rack.
If the tip still plays unpredictably after a couple of weeks of regular play, the problem is more likely the install (a gap under the tip, an off-center crown) or a hardness that doesn't suit you than break-in.
Break-in tricks to skip
- Soaking the tip in vinegar or water. Forum folklore. No tip maker we found recommends it, and a wet tip is the last thing a fresh glue joint needs.
- Squeezing the tip in a vise before installing. Some players do it to pre-compress the leather. No tip maker we found recommends it, and you can't control how evenly it compresses.
- Scuffing every rack. The fastest way to turn a new tip into an old one.
- Twisting a pick deep into the crown. Press or roll it lightly instead.
- Playing a tournament on a tip installed the day before. Give it at least a few practice sessions.
Break cue tips: what's different
If you searched for break cue tips, you probably want the tip that goes on a break cue, not a break-in routine. The short version: break cues use much harder tips than playing cues. The two families are hard laminated leather, such as Tiger's laminated break tip (rated Super Hard (6) by Tiger), and phenolic or hybrid tips, such as the 15mm Navigator Break Impact, which its listing calls ultra-hard hybrid phenolic. Phenolic transfers more energy but grips the cue ball less, and some leagues and rooms restrict it. The full comparison, including which to choose, is in phenolic vs leather break tips.
Break-in for these is short. A hard leather break tip gets the same first shaping and a light scuff as any leather tip, then rarely needs more than an occasional scuff; it compresses far less than a playing tip. A phenolic tip doesn't break in or mushroom at all. When it glazes, a light pass of fine sandpaper brings grip back; leather shapers and scuffers aren't made for it. Either kind wants fully cured glue before the first break, which matters more here than anywhere.
Protecting a tip once it settles
A settled tip needs little: chalk before shots, a light scuff when chalk stops sticking, a reshape a few times a year. Store the cue where the tip won't get pressed against a case wall, and away from heat and damp. How to store a pool cue has the details, and how long cue tips last covers when the next one is due.
Sources
- Dr. Dave Alciatore: mushrooming FAQ
- Dr. Dave Alciatore: layered tips FAQ
- Dr. Dave Alciatore: tip maintenance FAQ
- Cuetec: Bowtie tip tool (scuffing off a new tip's finish)
- McDermott: cue maintenance, the tip (new tips arrive flat)
- Loctite Super Glue Gel Control technical data sheet (cure time)
Our picks
Links open the current selection and price on Amazon so you can compare real reviews before buying.
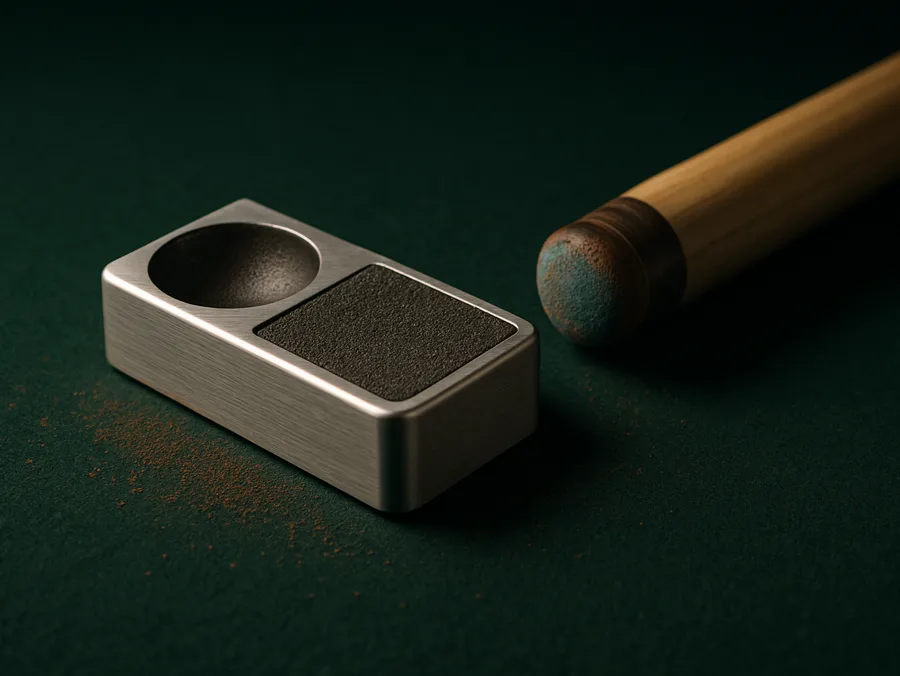
Cue Cube 2-in-1 Tip Shaper and Scuffer
The first shape and scuffA new tip needs a dome and a matte surface before the first rack, and this does both: a fixed-radius shaper on one side, a light scuffer on the other. Nickel (.418) or dime.
Check price on Amazon
Cuetec Bowtie tip tool
Touch-ups in the caseCuetec's 3-in-1: a dime-radius shaper, a scuffer and an aerator under a screw-off cap. Small enough to carry for between-session touch-ups while a tip settles.
Check price on Amazon
Pagulayan Leather Cue Tip and Shaft Burnisher
Taming early mushroomingAfter you trim an early mushroom back, a few turns against this leather compress the tip wall so it spreads less the next time.
Check price on Amazon
Master Billiard Chalk, 12 Cubes
Chalking every shotA new tip wants chalk before every shot, and a box of 12 means a fresh cube is always in the case. Made in the USA.
Check price on Amazon
Tiger Laminated Break Tip, Super Hard
A leather break cue tipVacuum-laminated cow and pig hide rated Super Hard (6), made in the USA in 13 or 15mm. A hard leather choice for break and jump cues where phenolic isn't wanted.
Check price on Amazon
Navigator Break Impact 15mm Phenolic Break Tip
A hybrid phenolic break tipAn ultra-hard 15mm hybrid phenolic tip made in Japan, sold for break and jump cues. Nothing to break in; check your league's rules on phenolic before you fit one.
Check price on AmazonFrequently asked questions
How do you break in a new cue tip?
Wait overnight for the glue to cure, shape the tip to a dime or nickel dome, scuff it lightly until the shine is gone, and chalk it. Then play normally with chalk before every shot, starting with center-ball shots, and trim any mushrooming as it appears.
How long does it take to break in a new cue tip?
Usually a handful of sessions. One cue maker's guide puts layered tips at 3 to 5 sessions and hard tips at 5 to 8. Soft tips tend to settle sooner. No tip maker we found publishes an official figure.
Why does my new tip keep miscuing?
It's most likely still glazed or flat. Shape it, scuff it until the whole crown is matte, and chalk before every shot. If it still miscues, check that the crown is centered and the tip sits flat on the ferrule.
Should I break with a new tip?
Not until the glue has cured overnight, and ideally not with your playing cue at all. A separate break cue keeps the hardest hits off your playing tip.
Is it normal for a new tip to mushroom?
A little, yes, especially on soft or one-piece pressed tips. Trim the overhang flush with the ferrule taped, then burnish the sides. It should stop once the tip settles.
Do layered tips need breaking in?
Less than pressed tips. They still need the first shaping and a light scuff, but they usually mushroom little. Go easy with picks and coarse scuffers on them.
What is the best break cue tip?
It depends on your league and your break. Hard laminated leather keeps more cue ball control and is allowed almost everywhere; phenolic and hybrid tips transfer more energy but grip less and are restricted in some leagues. Our phenolic vs leather guide compares them.
Do phenolic break tips need breaking in?
No. They don't compress or mushroom. When one glazes, a light pass of fine sandpaper restores grip. Just give the glue a full cure before the first break.
Related guides
LeaguePool is reader-supported. When you buy through links on this site we may earn an affiliate commission at no extra cost to you. As an Amazon Associate we earn from qualifying purchases.